Editing Workflow for Consistent and Timeless Wedding Albums
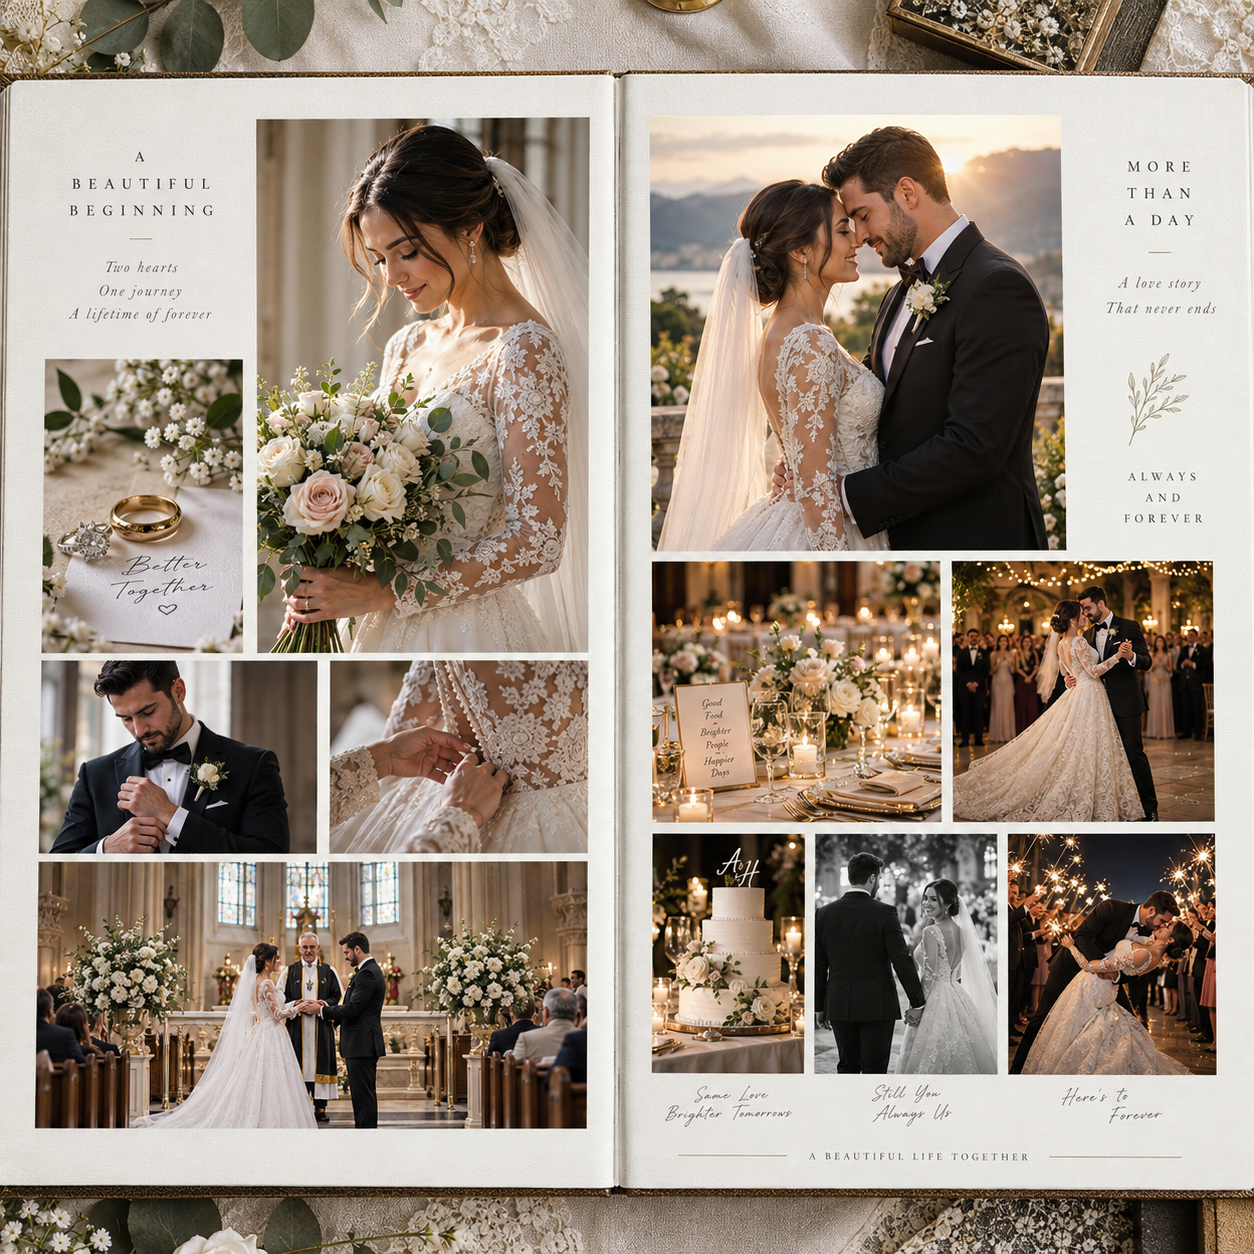
A dependable wedding photography editing workflow turns a large set of RAW files into a coherent visual story. The goal is not to make every photograph identical. It is to make the gallery feel connected, with stable exposure, believable color, flattering skin tones, and an editing style that will still feel appropriate years from now.
Define Your Wedding Album Editing Style
A timeless wedding album editing style uses natural color, balanced contrast, accurate skin tones, and restrained trends. Establish these principles before editing so individual decisions support the complete story.
Start by defining what your work should preserve. Many wedding photographers choose a foundation of clean whites, gentle contrast, realistic greens, and skin tones that remain warm without becoming orange. Others prefer muted colors, deeper shadows, or a film-inspired finish. Neither approach is universally correct; consistency matters more than imitation.
Build a short style reference for your Lightroom or photo-editing software. Include your preferred:
- Highlight and shadow balance
- White balance range for skin
- Contrast and black-point treatment
- Color intensity and saturation limits
- Approach to grain, vignettes, and image borders
Use trends carefully. Strong orange-and-teal grading, crushed blacks, extreme desaturation, and heavy skin smoothing may look distinctive today but can date an album quickly. A useful test is to view a sample wedding at small size and in black and white. If the emotional hierarchy still works, the edit is probably serving the photographs rather than overpowering them.
Organize and Cull the Wedding Gallery Efficiently
To organize and cull a wedding gallery efficiently, back up the RAW files first, create a predictable folder structure, remove technical duplicates, and select images that build a complete album story.
Copy the original files to a working drive and create a second backup before making major decisions. A simple structure might include folders for Preparation, Ceremony, Portraits, Family, Reception, and Details. Keep the camera originals unchanged, and use catalogs or project files to store edits and ratings.
During image culling, make separate passes. First reject photographs with missed focus, closed eyes, accidental duplicates, severe motion blur, or distracting expressions. Then rate the remaining images for emotional value, composition, and narrative purpose. Comparing near-identical frames side by side prevents a gallery from becoming repetitive.
Choose photographs according to visual rhythm. A wedding album needs establishing images, details, quiet transitions, emotional peaks, portraits, and moments of release. Ten similar dance-floor photographs may be exciting in a proof gallery but weaken an album sequence. Keep the strongest frame and use the others only if they add a distinct gesture, reaction, or viewpoint.
Do not cull so aggressively that the story loses context. A photograph of an empty ceremony space, a parent waiting, or guests leaving can connect important moments even when it is not a conventional hero image.
Complete a Reliable Base Edit
The most reliable base-edit order is exposure, white balance, highlights and shadows, contrast, lens corrections, crop, and then local refinements. This sequence reduces unnecessary rework and creates a stable foundation for the full gallery.
Begin with exposure and confirm the result on faces, white clothing, and important highlights. A wedding dress can contain bright detail while still appearing luminous. Avoid correcting exposure by judging only the background, especially in backlit portraits.
Set white balance before fine color adjustments. Use a neutral reference such as a wall, dress, or reception linen when available, then check whether skin looks believable. Auto white balance can be a useful starting point, but it may shift between frames taken seconds apart.
Next recover distracting highlights and open shadows with restraint. Deep shadows can add atmosphere, while excessive lifting makes low-light photographs look flat and noisy. Apply lens corrections before making precise crops, since distortion and vignetting can change the visual balance.
Crop for composition and album flexibility. Leave enough room around groups and moving subjects for possible print layouts. A crop that looks perfect in a single image may become unusable when placed beside a vertical portrait or a full-bleed spread.
Save detailed retouching for later. The base edit should establish a consistent visual floor across the gallery, not solve every blemish or distraction in every frame.
Create Consistency Across Changing Lighting Conditions
To maintain consistency across changing lighting conditions, match nearby images by visual reference rather than forcing one global setting onto the entire wedding. Protect natural skin tones while allowing each lighting environment to retain some character.
Indoor preparation rooms, outdoor ceremonies, candlelit receptions, and mixed-light dance floors each require different corrections. Group images by lighting condition and adjust one representative frame first. Then synchronize only the settings that genuinely transfer, such as a basic profile or lens correction.
For indoor tungsten light, reduce excessive yellow or orange while preserving warmth in the room. Under green fluorescent light, correct the tint carefully and check faces at normal viewing size. In shade or overcast weather, a small warmth adjustment may restore life without turning neutral clothing beige.
Color consistency should be judged across neighboring images, not in isolation. Place a ceremony frame beside the next processional image and compare the bride's complexion, the groom's shirt, and the whites in the environment. If the skin tones match but the background shifts slightly, that may be preferable to making the entire scene unnaturally neutral.
Mixed lighting is a special case. A single global white balance may never make window light and colored reception lamps agree. Correct the subject first, use local masks where necessary, and accept some ambient color when removing it would erase the atmosphere of the venue.
Use Presets and Batch Editing Without Losing Control
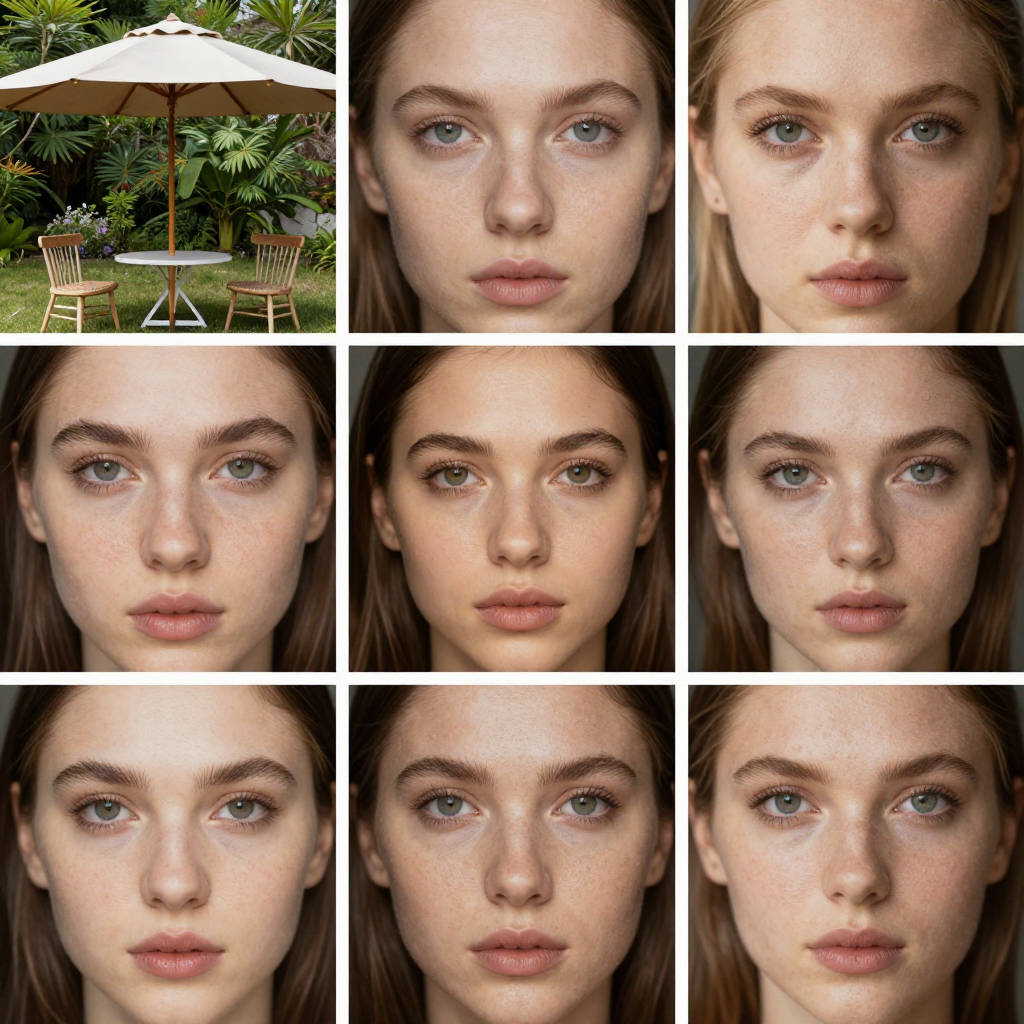
Presets and batch editing improve speed when they provide a starting point, but every important photograph still needs individual review for exposure, faces, composition, and complex lighting.
Build presets around repeatable foundations rather than dramatic effects. A useful preset may contain a camera profile, moderate contrast, a restrained color treatment, and lens corrections. Create separate versions for daylight, open shade, indoor ambient light, and low-light reception scenes if your work regularly includes those conditions.
Apply a preset to a visually related group, then synchronize carefully. Batch editing works well for consecutive frames made in the same place with the same light. It becomes risky when the group includes backlighting, flash changes, different skin tones, or a transition between rooms.
After synchronization, inspect:
- Faces and skin tones at 100% and normal viewing size
- White dresses, shirts, and bright floral details
- Exposure differences caused by movement or changing backgrounds
- Color casts from walls, windows, DJ lighting, or decorative uplighting
- Vertical lines, horizons, and crop safety for album layouts
The central trade-off is straightforward: choosing batch editing for speed means accepting that it cannot understand every emotional or lighting nuance. Use automation for repetition, then reserve human attention for photographs that carry the story.
Refine Key Images for the Wedding Album
Refine key wedding album images individually after the gallery-wide correction is stable. Hero portraits, family photographs, ceremony highlights, and opening or closing images deserve more careful retouching than ordinary supporting frames.
For portraits, remove temporary blemishes, distracting flyaway hairs, and background clutter without changing recognizable features. Skin retouching should preserve texture and expression. Excessive smoothing creates an artificial surface that can become especially obvious in large prints.
Family photographs need practical attention: check closed eyes, uneven brightness between faces, stray objects, and distracting edges. A small crop adjustment can often improve a group portrait more effectively than heavy retouching.
Ceremony highlights benefit from restrained local adjustments. Brighten a face in shadow, recover detail in a veil, or reduce a bright exit sign. Keep the correction subtle enough that the image remains connected to the surrounding sequence.
Album-opening and closing images carry unusual weight. The opening photograph should establish place, mood, or anticipation. The closing image might offer intimacy, celebration, or a quiet sense of completion. Their edits should be polished, but they should still belong to the same visual world as the rest of the wedding.
Review, Export, and Archive the Final Album
Before exporting a wedding album, review the complete sequence for consistency, distractions, print suitability, correct color space, and safe file storage. A final quality-control pass catches problems that are easy to miss while editing individual photographs.
Review the gallery in order, preferably on the display and device used for album design. Check that exposure does not jump between adjacent images, skin tones remain stable, and repeated scenes do not create visual fatigue. Inspect faces for temporary marks, masks, cloning errors, and unnatural edges.
Confirm that every selected photograph works at its intended print size. Fine details that look acceptable on screen may disappear in a small print, while dust spots and retouching artifacts can become obvious in a large spread. Follow the requirements of the album lab or design platform for dimensions, resolution, sharpening, and color space. When no specific specification applies, a standard print-oriented export in sRGB is commonly compatible with consumer-facing labs, but always verify before delivery.
Use a final checklist:
- Exposure and white balance are coherent across adjacent images.
- Skin tones look natural in portraits, groups, and mixed light.
- Horizon lines, crops, and compositions are suitable for album design.
- Distractions, dust, duplicate frames, and retouching artifacts are removed.
- File names, sequence order, dimensions, and export settings are correct.
- Client proofs and the final album files are clearly separated.
- Original RAW files, catalogs, edited files, and exports exist in more than one location.
Archive the original RAW files and the editable catalog or project file, not only the JPEG exports. A consistent naming system and dated delivery folder make future album revisions far easier.
Frequently Asked Questions
What is the best order for editing a wedding gallery?
The best order is backup, organization, culling, base exposure and white balance, tonal adjustments, lens corrections, crops, consistency review, detailed retouching, album sequencing, export, and archive. This prevents time-consuming retouching on photographs that may later be removed.
How can photographers keep skin tones consistent across a wedding?
Set white balance before fine color work, compare adjacent images, group photographs by lighting condition, and correct faces before backgrounds. Use local adjustments for mixed light rather than pushing one global setting across the entire gallery.
Should wedding photographers use presets?
Yes, presets can provide an efficient starting point for a consistent style. They should support the photographer's judgment, not replace image-by-image review, especially in changing or colored light.
How do you make wedding photos look timeless rather than trendy?
Prioritize natural skin tones, controlled contrast, believable whites, moderate saturation, and authentic ambient light. Use distinctive color grading sparingly and avoid effects that dominate the emotional content of the photograph.
What should be checked before exporting images for an album?
Check sequencing, exposure, white balance, skin tones, crops, distractions, retouching artifacts, print dimensions, sharpening, color space, file names, and the album lab's technical requirements. Keep an archived copy of the RAW files and editable project.